 Open Seizure Detector
Setting Up OpenSeizureDetector
This guide walks you through the complete setup of OpenSeizureDetector on your Android phone, from installing the app to your first seizure-detection session.
Before You Start
You will need:
- An Android phone running Android 8.0 or later
- A data source — choose one:
- PineTime watch — low-cost (approx. £35), open-source, recommended for most users
- Garmin watch — recommended if you need continuous heart rate monitoring
- A second phone or tablet — to receive alarms remotely from an existing OSD installation (Network mode)
Video Version
There is a (very unprofessional!) video walking through these instructions for a PineTime watch that you can see here:
Part 1 — Install the App
Install OpenSeizureDetector from the Google Play Store:

Or search for “OpenSeizureDetector” in the Play Store.
Important battery setting: After installing, open your phone’s Settings and search for “Optimise Battery Usage” (or Battery Optimisation). Find OpenSeizureDetector in the list and set it to Not optimised — otherwise Android may shut the app down in the background to save power.
Part 2 — Setup Wizard
Step 1 — Welcome Screen
When you first launch OpenSeizureDetector, the setup wizard starts automatically.
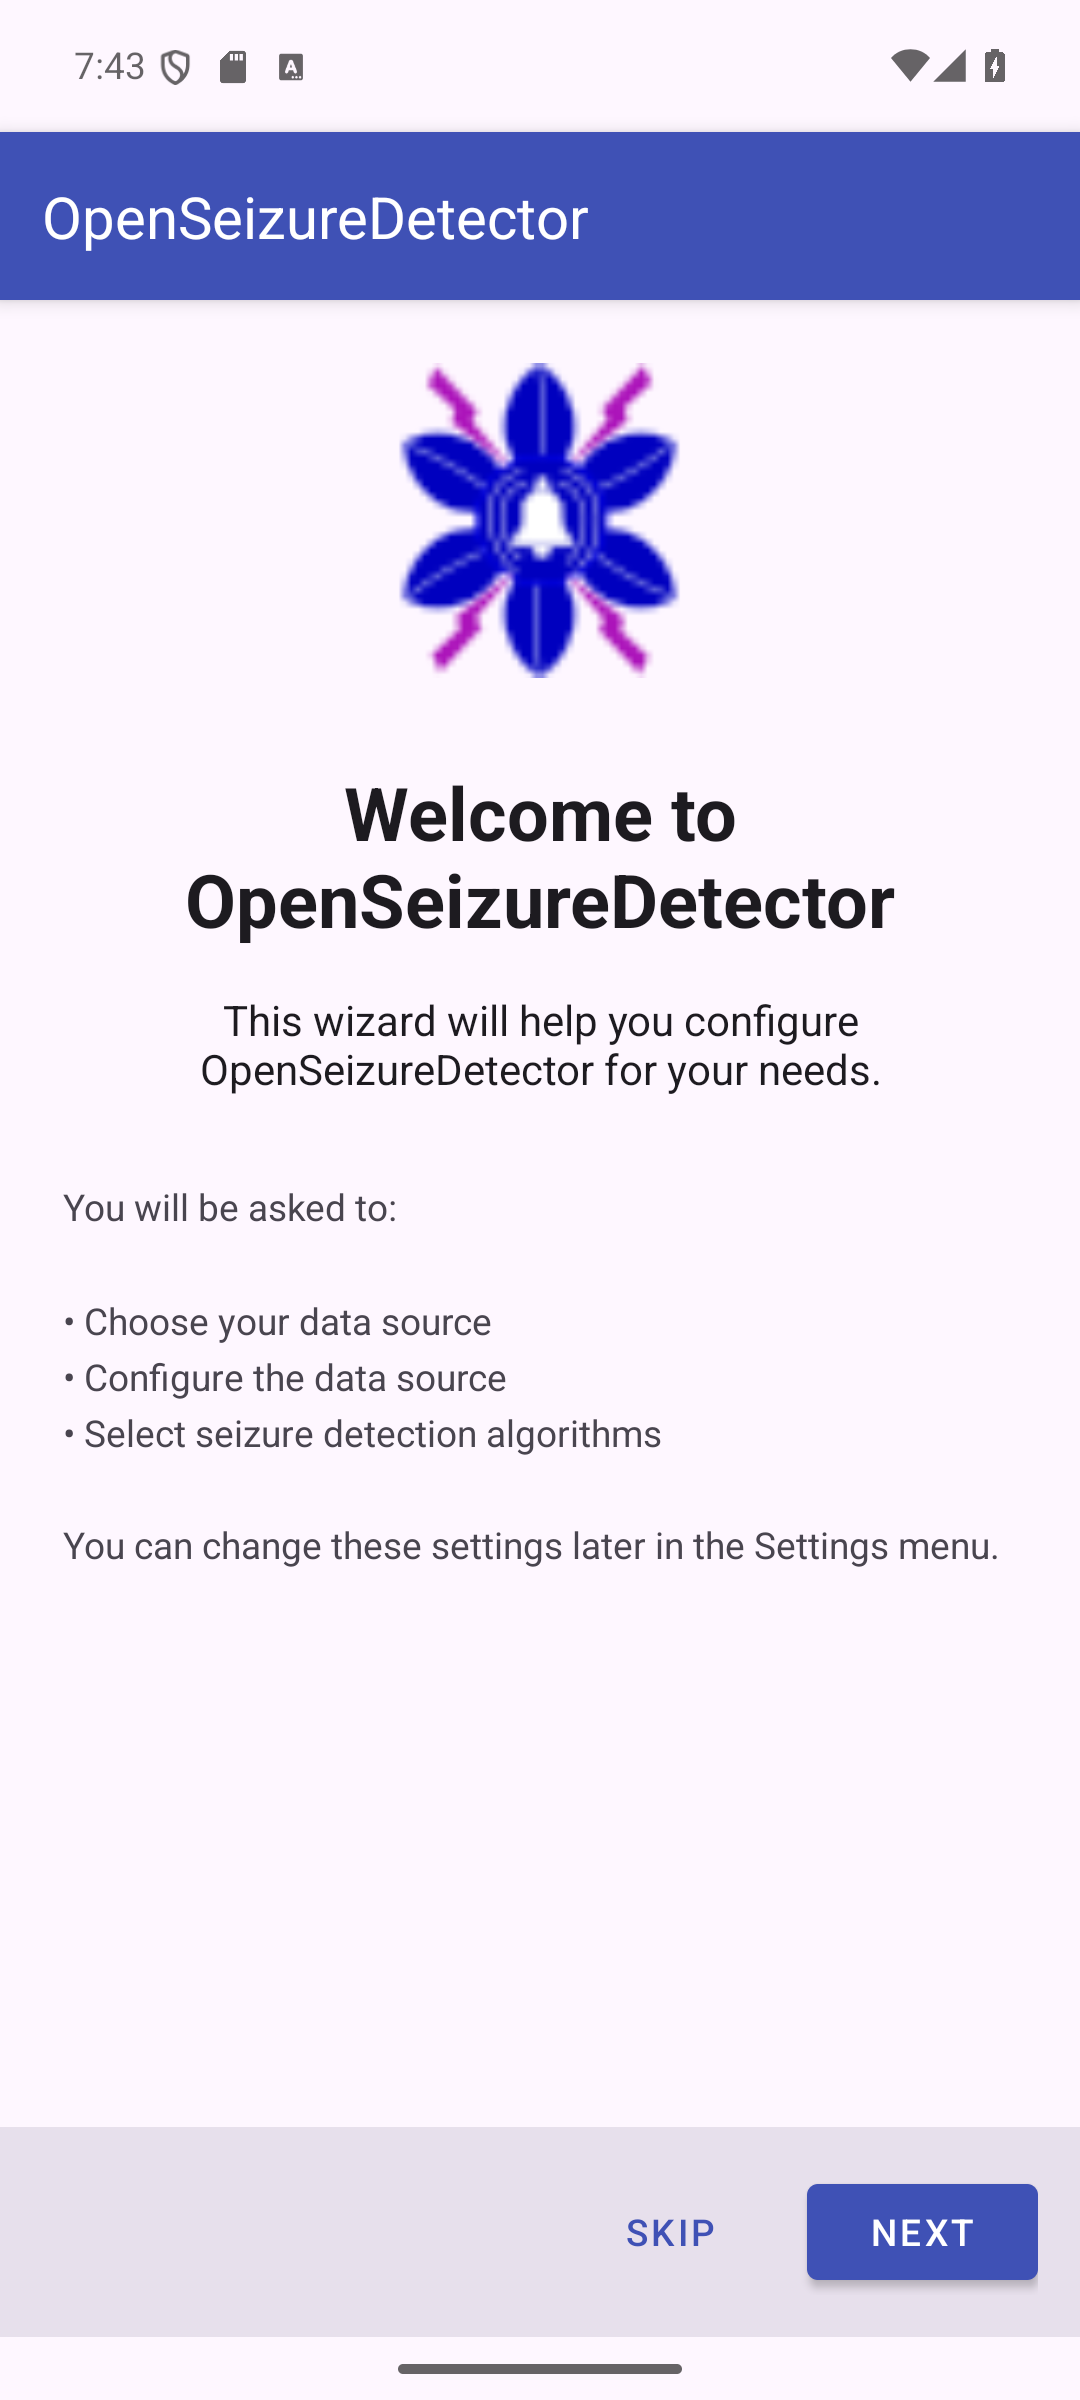
The wizard guides you through:
- Choosing your data source (the watch or remote device)
- Configuring the data source
- Selecting seizure detection algorithms
Press Next to continue, or Skip to configure manually via Settings later.
Step 2 — Select Data Source
On the Choose Data Source screen, select the option that matches your setup.

| Option | Description |
|---|---|
| Phone (Demo Mode) | Uses the phone accelerometer — for testing only, not real seizure detection |
| PineTime Watch (Recommended) | Low-cost wrist watch — reliable tonic-clonic seizure detection |
| Garmin Watch | Garmin smart watch — seizure detection plus heart rate monitoring |
| Network (Remote Monitoring) | Receives alarms from another OSD device on your Wi-Fi |
Press Next in the app to proceed to the data source configuration screen, then follow the guide for your chosen source below.
Step 3 — Configure Your Data Source
Press the button for your data source to open the configuration guide. Each guide covers everything needed to get the data source working, then has a Back button to return here.
Network mode users: The wizard skips algorithm selection entirely (algorithms run on the primary device). After completing the network data source setup, jump straight to Step 5 — Setup Complete below.
Step 4 — Select Detection Algorithms
(PineTime and Garmin users only.)
After configuring your data source and pressing Next in the app, the wizard shows the algorithm selection screen.
Choose which seizure detection algorithms to enable. You can select more than one.
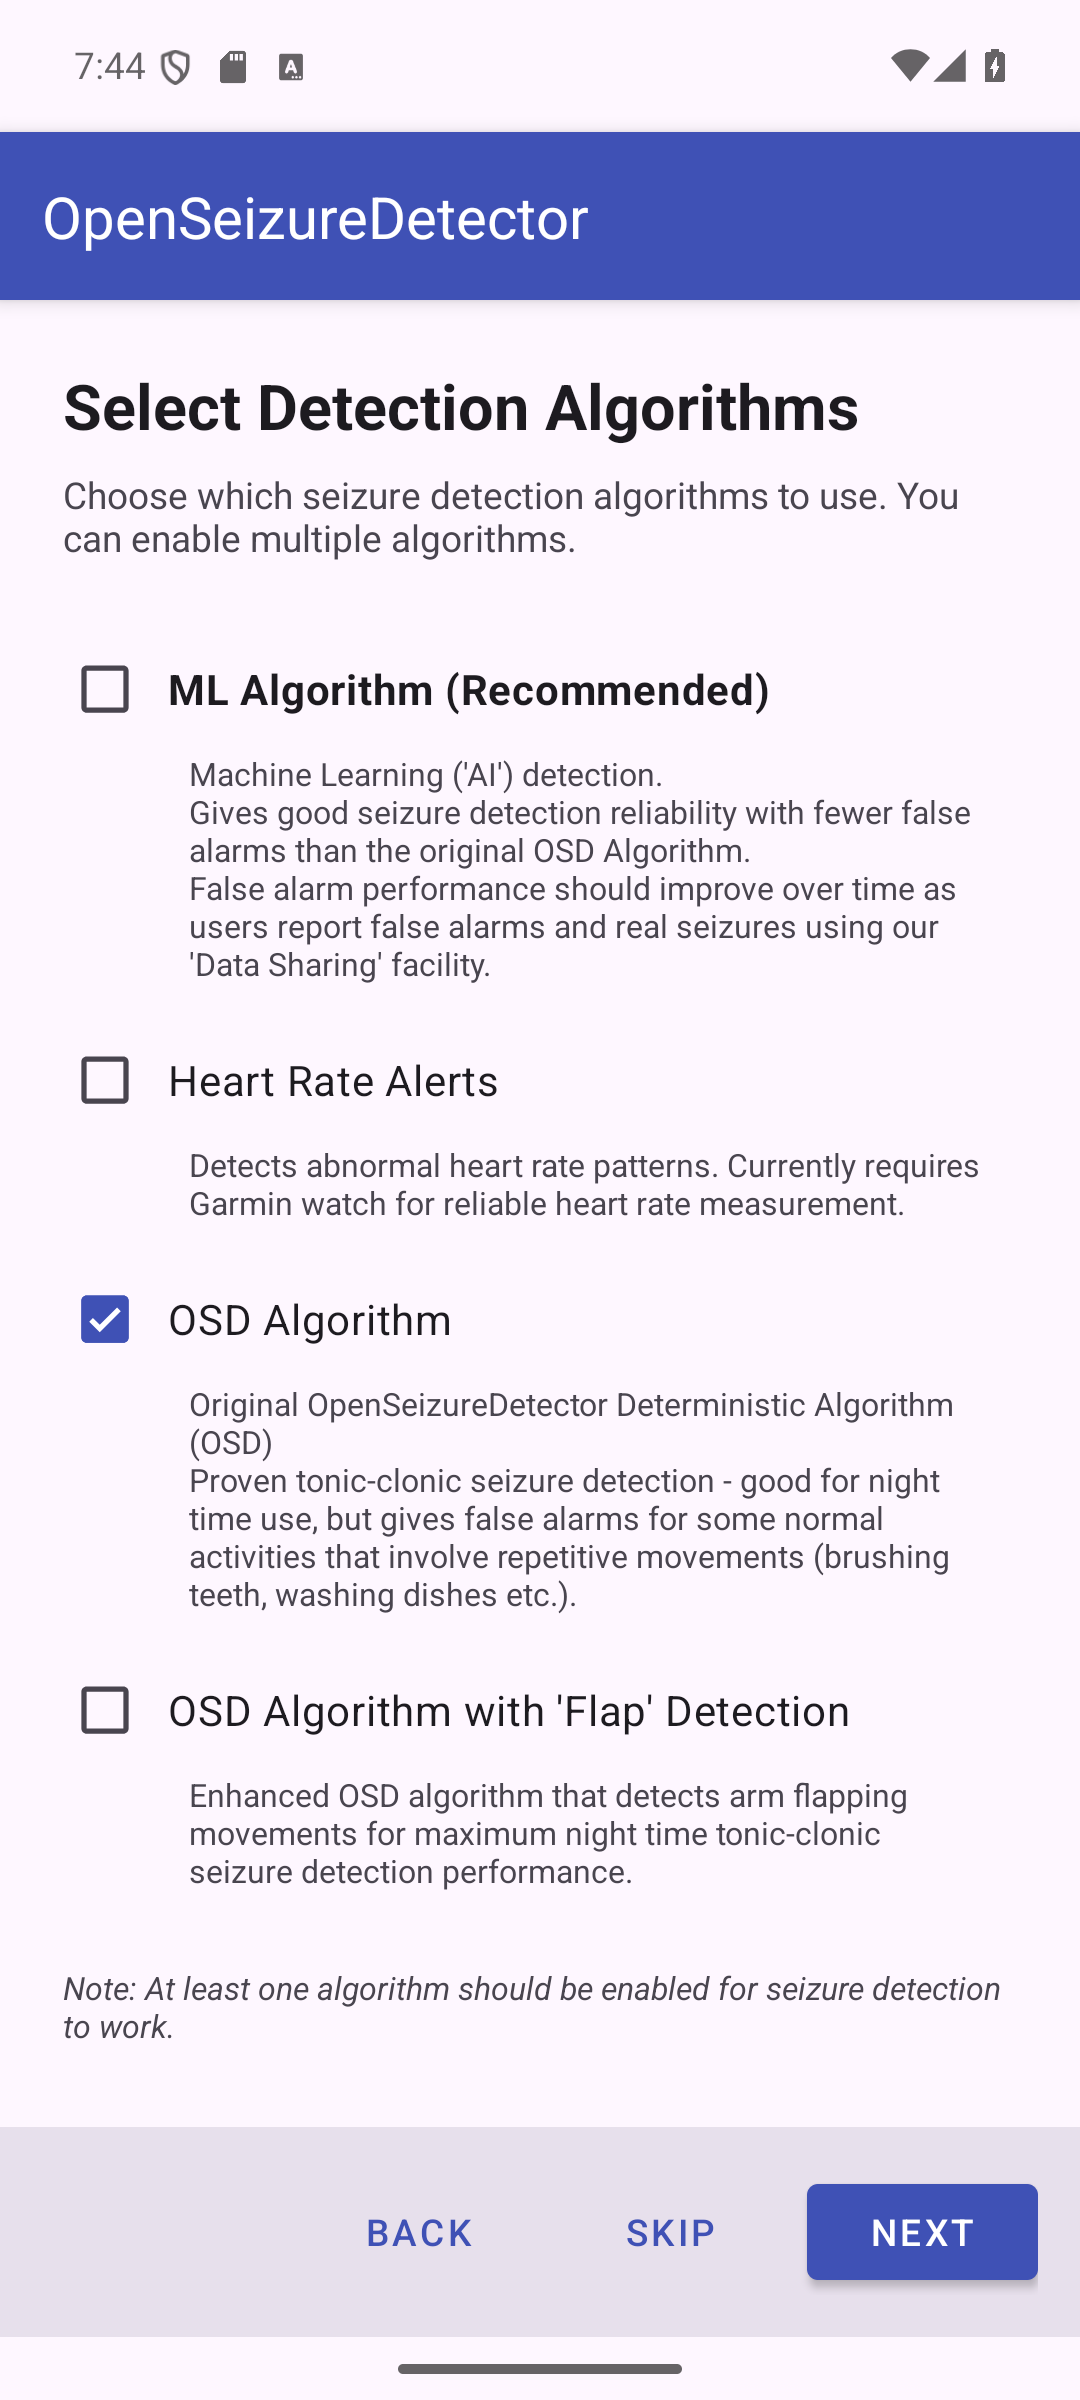
| Algorithm | Description |
|---|---|
| ML Algorithm (Recommended) | Machine Learning / AI detection. Good sensitivity with fewer false alarms. Improves over time via community data sharing. How it works and settings. |
| Heart Rate Alerts | Detects abnormal heart rate. Requires a Garmin watch for reliable HR measurement. How it works and settings. |
| OSD Algorithm | Original proven algorithm. Good for overnight use; may false-alarm on repetitive movements (brushing teeth, washing dishes etc.). How it works and settings. |
| OSD with Flap Detection | Enhanced OSD that also detects arm flapping — maximum night-time tonic-clonic detection. |
At least one algorithm must be selected before Next is enabled.
Recommended choices:
| Watch | Recommended algorithms |
|---|---|
| PineTime | ML Algorithm + OSD Algorithm |
| Garmin | ML Algorithm + Heart Rate Alerts + OSD Algorithm |
Algorithm configuration dialogs
After pressing Next, a short confirmation dialog appears for each enabled algorithm:
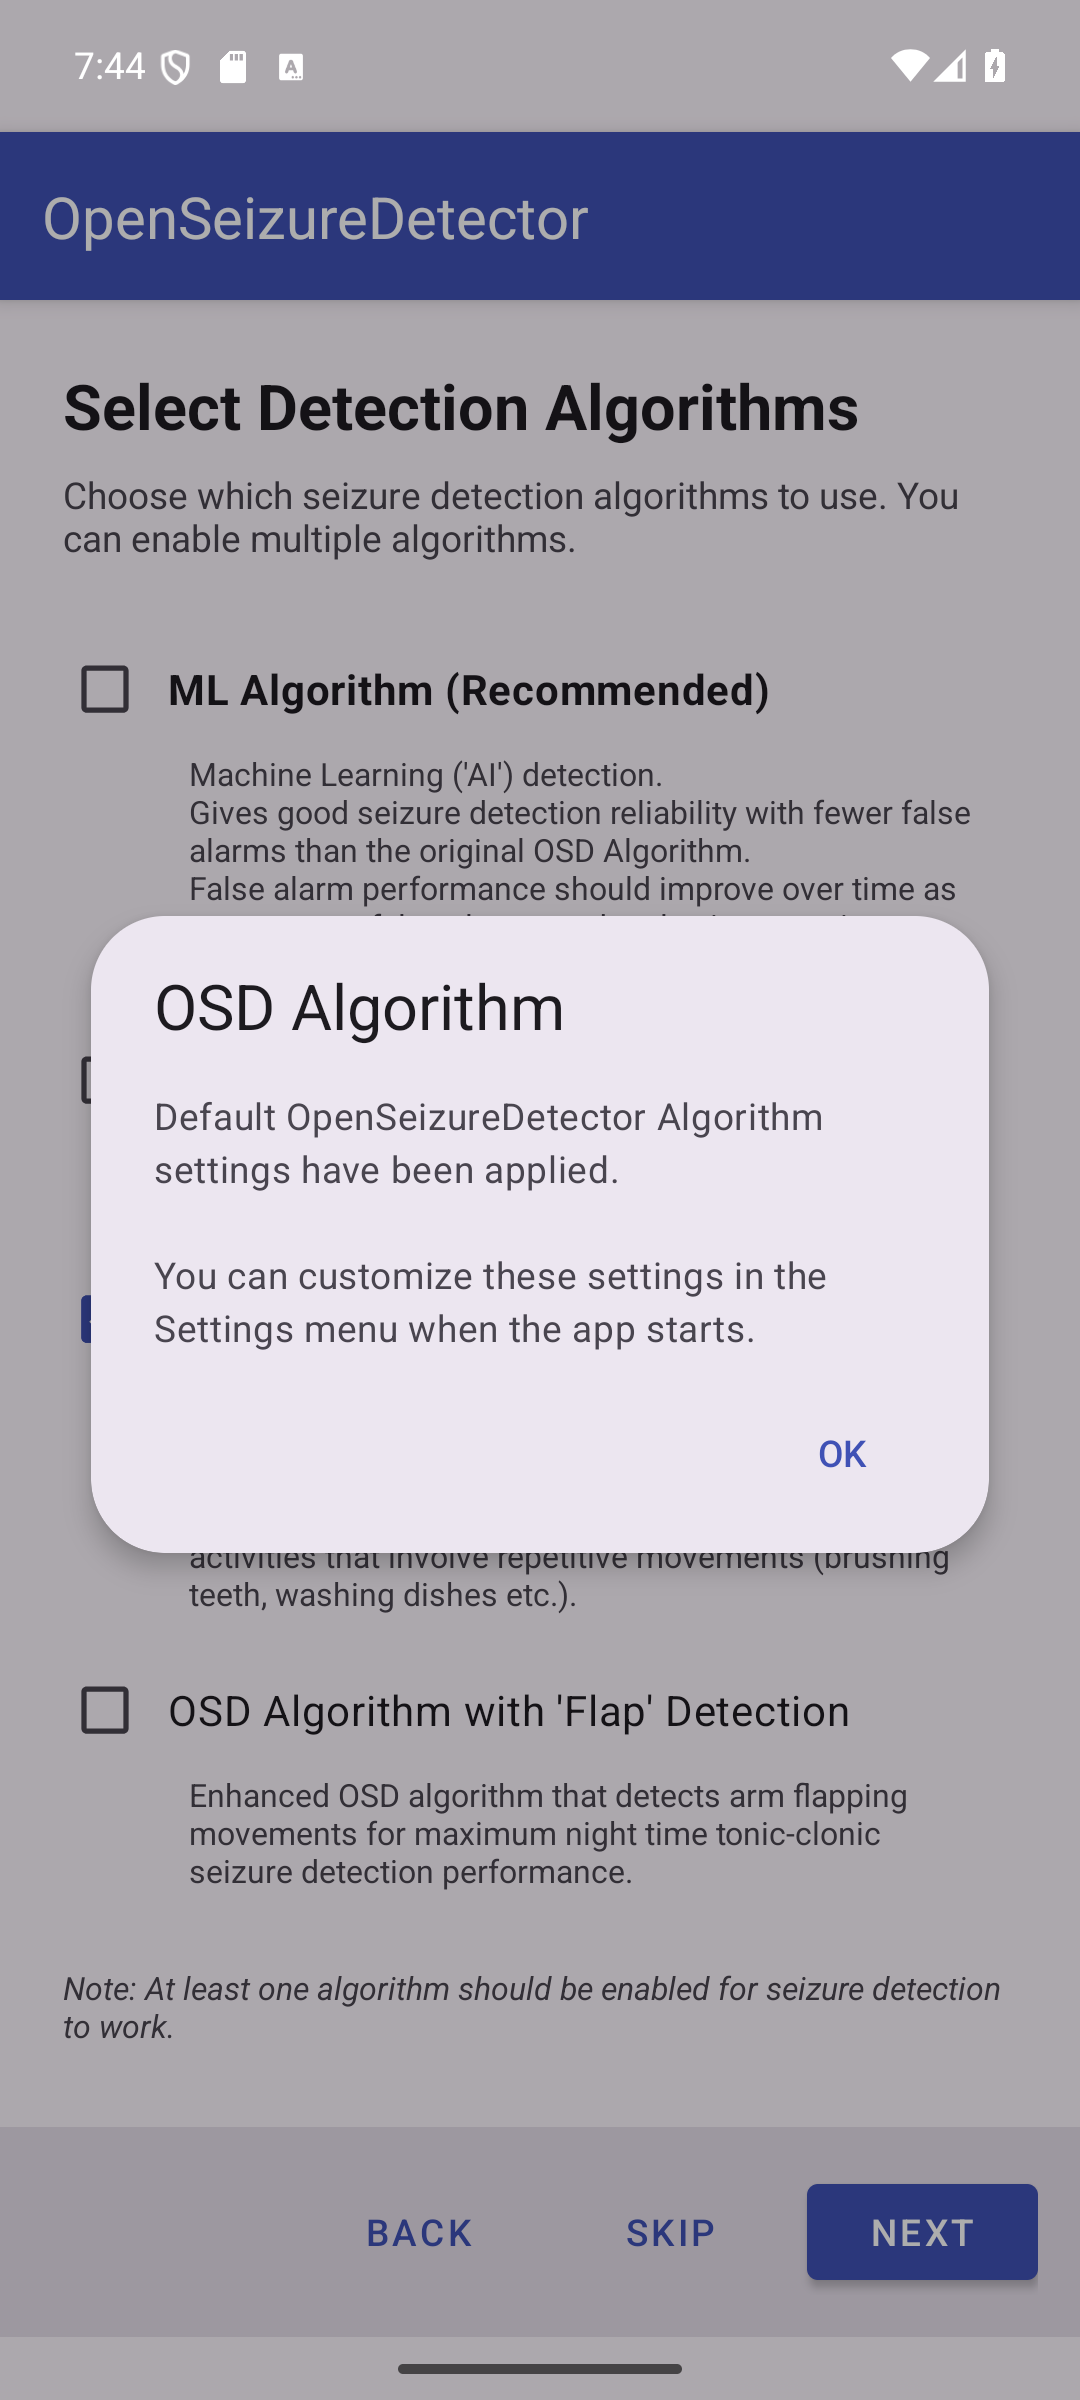
- OSD Algorithm — default settings applied automatically. Tap OK.
- OSD with Flap Detection — default settings applied. Tap OK.
- ML Algorithm — the recommended ML model is downloaded automatically. If no model is available, ML is gracefully disabled and can be re-enabled from Settings later.
- Heart Rate Alerts — default HR thresholds applied. Tap OK. You can fine-tune these thresholds in Settings after the wizard completes.
Step 5 — Setup Complete
The final screen confirms your configuration.
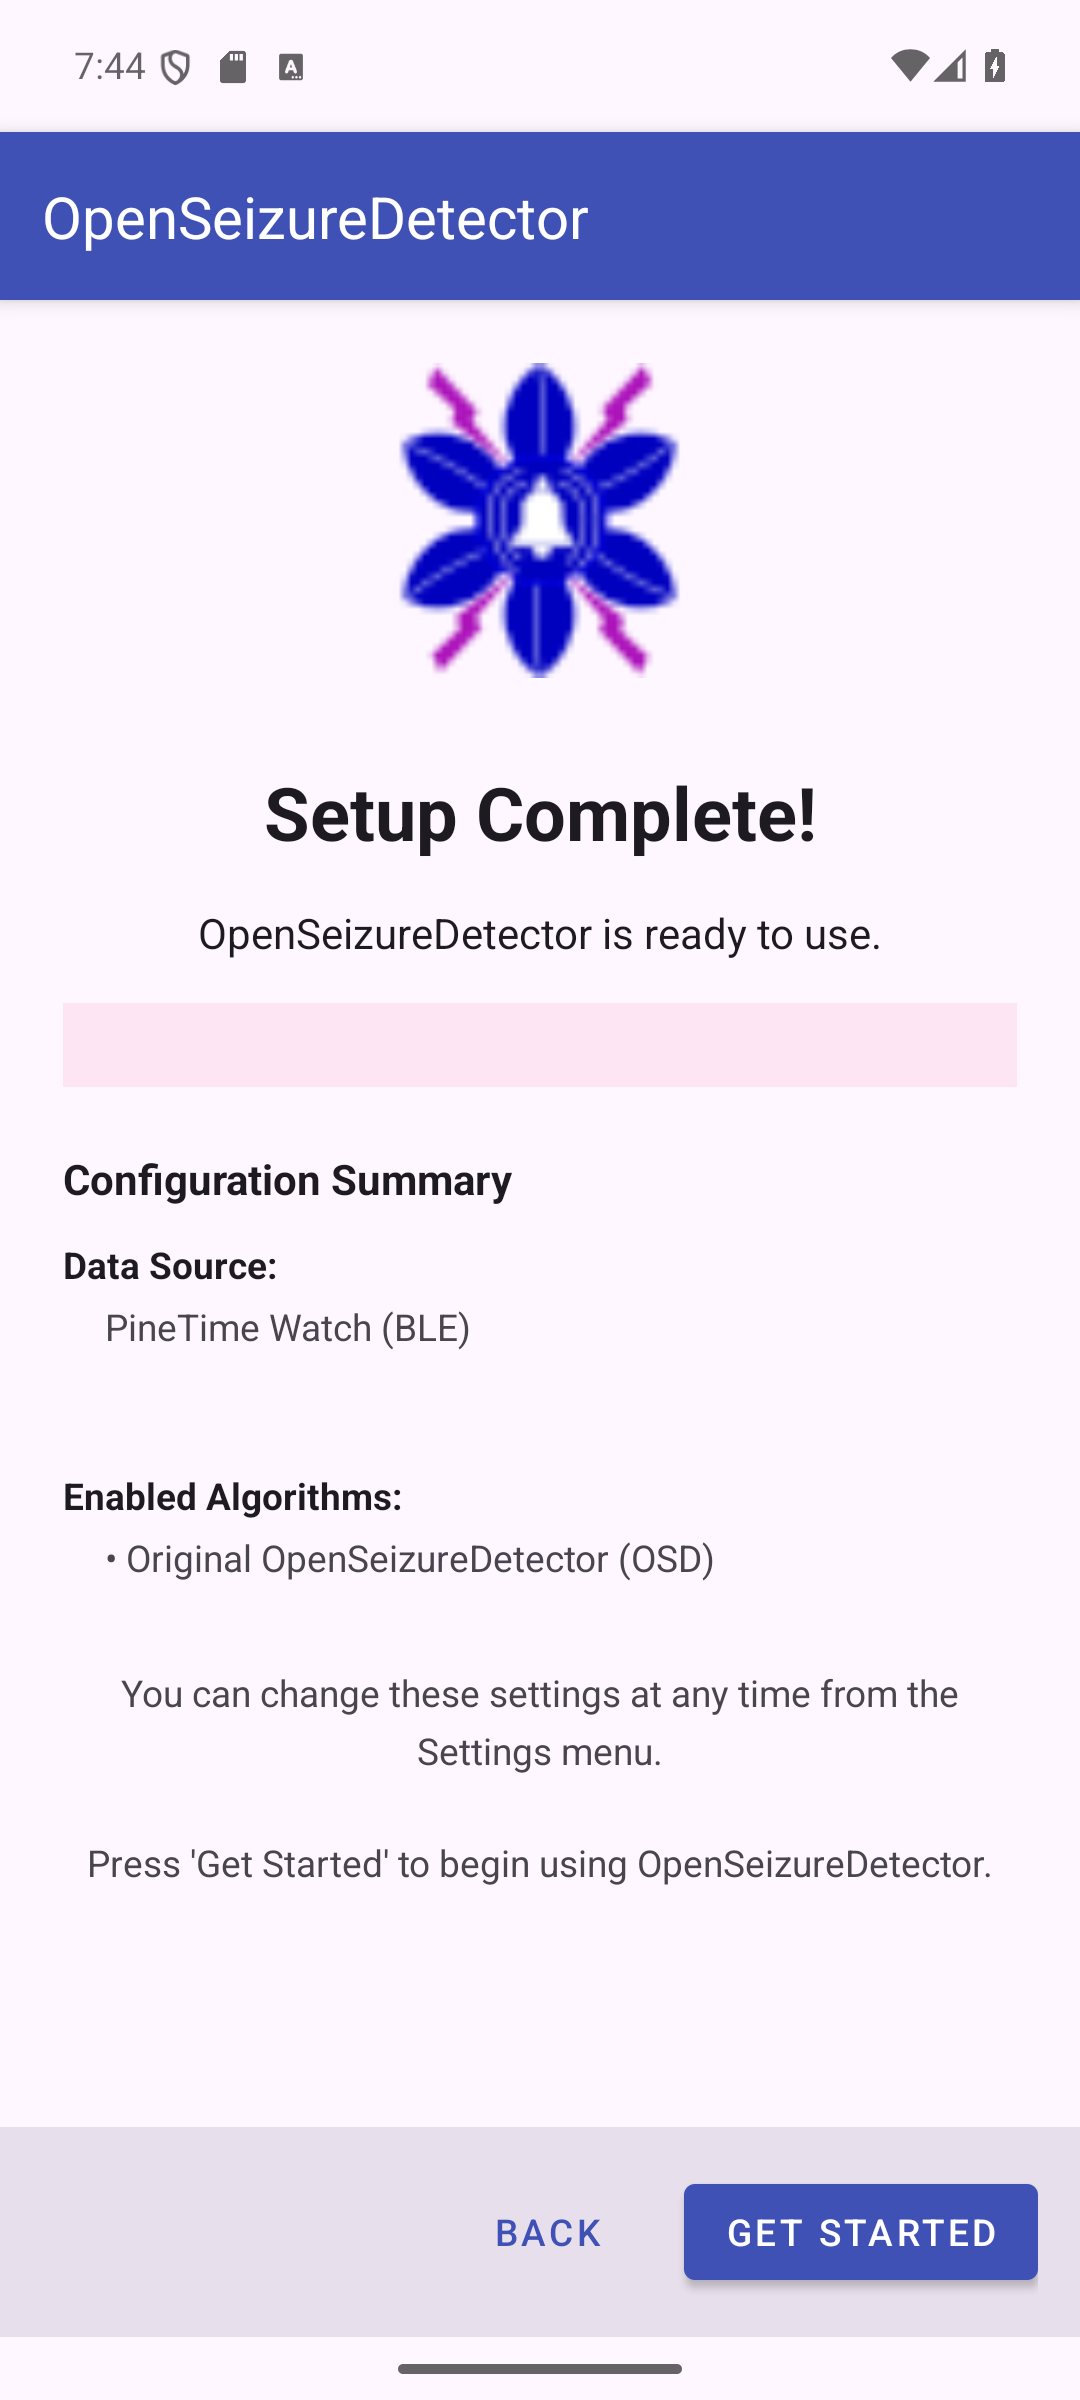
The summary shows:
- Data Source — your watch name / Bluetooth address, or connection type
- Enabled Algorithms — the algorithms that will run
Press Get Started to launch the main monitoring screen.
What Happens When You Start the App
After setup, each time you launch OpenSeizureDetector a start-up screen is shown. This screen:
- Checks that all required permissions have been granted (Bluetooth, notifications, etc.)
- Requests any missing permissions
- Verifies the data source is reachable
- Shows connection status before handing over to the main screen
Once everything checks out, the app opens the main monitoring screen where live status is displayed and seizure detection is active.
See Using OpenSeizureDetector for an overview of using the app once it is set-up.
SMS Alerts
If you want the phone to alert carers using SMS text messages, start the app and do the following:
- Open the settings screen (Menu -> Settings).
- Select Alarms
- Scroll down the list of settings until you find the section on SMS alarms.
- Select SMS Numbers, and enter the numbers of the phones you wish to be alerted by SMS, separated by a comma (,).
- Select Enable SMS Alerts
- Press the back button twice to return to the main activity screen.
- The app should re-start, and you will be prompted to grant the additional permissions needed to send SMS alerts that contain your location.
- In the main app screen, select Menu -> Test SMS Alarms - it should send SMS text messages to the selected numbers.
NOTE There is a bug in V5.0.8 which means that unless the data source is selected to ‘Phone’, the app does not request the required permsissions to send SMS alerts, so when you test the alert you see an error about ‘Failed to Send SMS Message’. You can work around this problem by either selecting the data source to ‘Phone’ and re-starting the app (and accepting the reqested permissions when asked), and then changing the data source back to your chosen watch, or using the main phone settings to select Apps->OpenSeizureDetector->Permissions and granting all of the permissions.
Troubleshooting
| Problem | Solution |
|---|---|
| App closed by Android in background | Set OSD to Not optimised in your phone’s Battery Optimisation settings |
| Wizard does not start on first launch | Open Settings in the app and tap Run Setup Wizard |
| Need to re-run setup | Open Settings in the app and tap Run Setup Wizard |
| Failed to Send SMS Message displayed | Select data source to phone and re-start - it will ask for the required permissions. Then select back to the correct watch and re-start - see SMS Alerts section above. |
For more information visit openseizuredetector.org.uk