
News

Soldering onto Surface Mount ICs

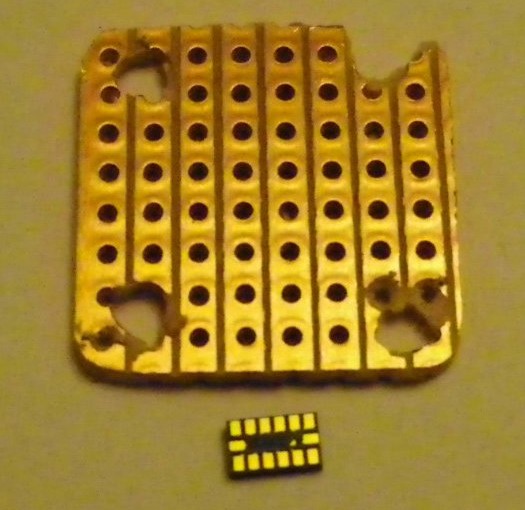
I recently bought an accelerometer IC to use on my epileptic seizure detector project.  It is a tiny surface mount device as you can see below.
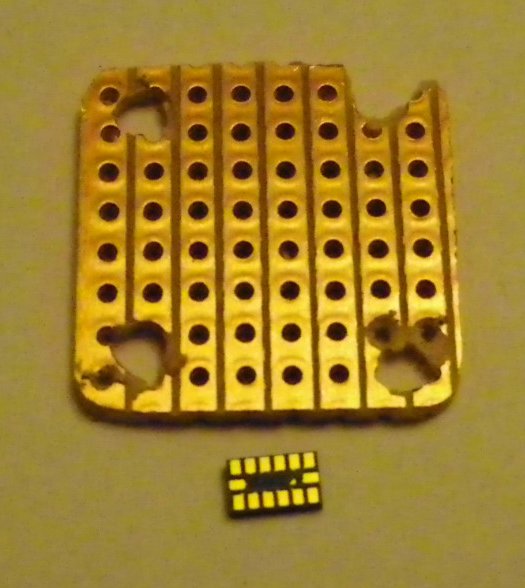
I gave a lot of thought to how to connect wires to it.  I did consider conductive glue, but it would be difficult to hold them all still for long enough for it to set, so I went back to solder.  This is how I did it…
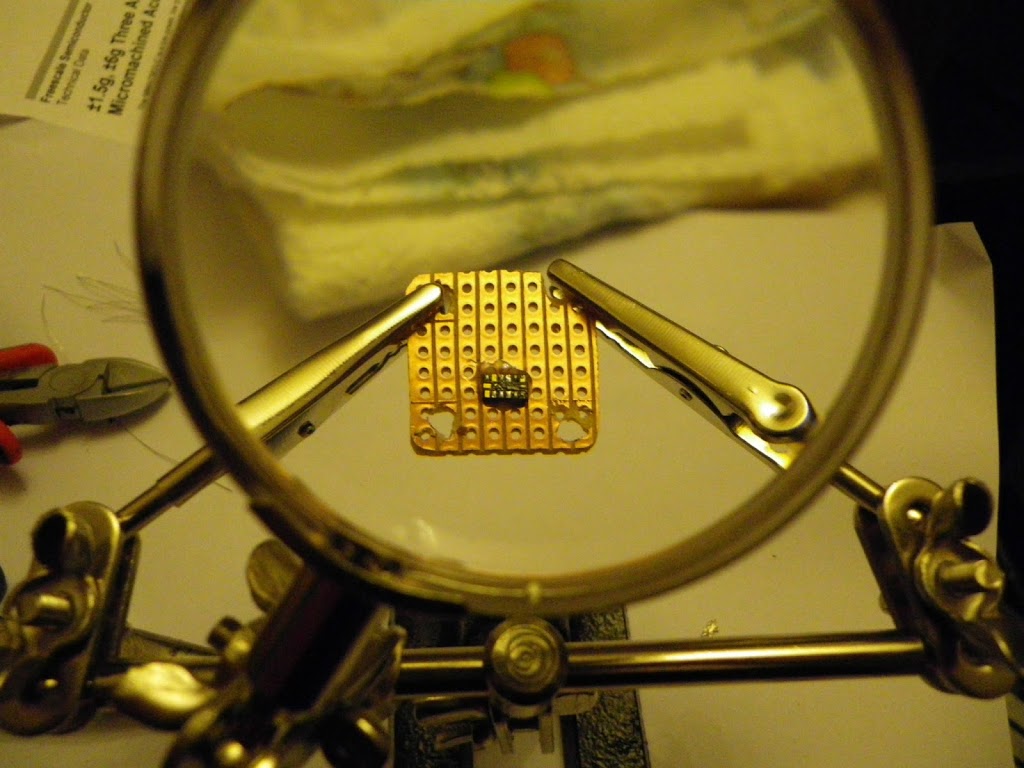
1.  Mount the IC onto stripboard using apoxy adhesive:
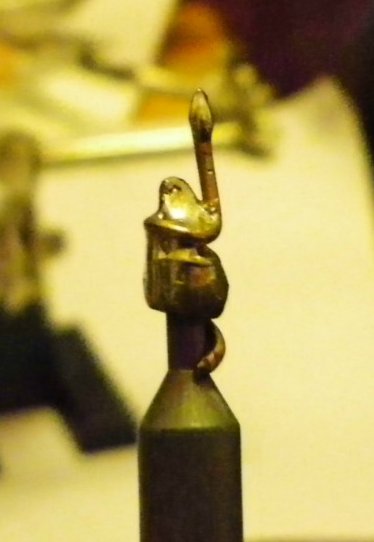
2.  While the glue is setting, modify the soldering iron by wrapping some 1mm2 copper wire around the tip to give a very fine tip.  Use solder to increase the heat transfer between the wire and the tip:
3.  Tin the solder pads on the IC, using some very fine solder (I got some 32swg solder off ebay).
4.  Obtain some very fine copper wire (I disassembled some cheap alarm flexible cable, and used strands from that).
5.  Hold a strand of wire onto a solder pad, and touch it with the soldering iron to melt the solder and create the joint.
6.  Repeat for all connections:
7.  Route the fine wires to the copper tracks, and solder on.  I used the insulation from the original alarm  cable to prevent short circuits:
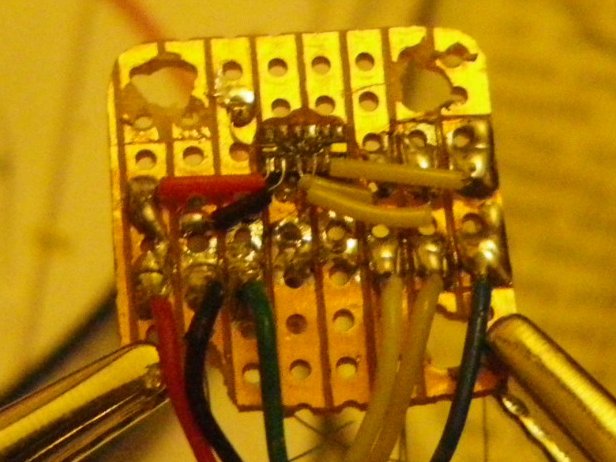
Fiddly, and not very neat, but it worked for me – it is being used in my prototype epileptic seizure detector.

Epileptic Seizure Detector (1)

Our son worried us a bit a couple of weeks ago when he had quite a nasty fit, so I have been thinking about making an alarm to warn a carer that a person in their charge is having a seizure.

There are a few different ways to do this that I have thought of:

  1. Detect Movement using an accelerometer
  2. Detect the sounds associated with the movement using a microphone
  3. Monitor the movement with a CCTV camera and use image processing to detect the abnormal movement.
I am trying option 1 (accelerometer) first, but am working on the CCTV approach in parallel by learning OpenCV.
Because our son is autistic, it will be very difficult to get him to wear a device, so I hope to detect movement through the floorboard where he sleeps, but this will be much less sensitive than detecting it directly.  Therefore, this first proof of concept version is working by attaching the accelerometer to a limb to see if I can get it working.  The issues with it are:
  1. We do not want false alarms caused by normal movement – I am addressing this by using a fourier transform to filter out only a range of frequencies of movement, in the hope that I can select the characteristic shaking of a seizure, but not detect too much normal movement.
  2. A quick shake should not raise an alarm, so to set off an alarm the acceleration in the appropriate frequency band should be more than a threshold value for a specified length of time (3 sec currently).  This will give a warning ‘pip’.   If the shaking continues for 10 sec, it raises a buzzing alarm.
  3. Sensitivity will be a problem for detecting it through the floor – will need to work on that another evening.
The system uses an Arduino microcontroller, connected to a Freescale MMA7361 three axis accelerometer.   The accelerometer is a tiny (5mm x 3mm) surface mount device, so soldering it is a challenge – you can see how I did it here.
To enable data logging so I can tune it to get the frequency response, threshold etc. the arduino is also connected to a real time clock module and a SD card module.
The completed prototype is shown below:

The code is in my Arduino Projects github repository.
And here is a simple demonstration of it working – you can hear the warning ‘pip’ and the alarm ‘buzz’ in the background when I shake my arm to simulate a seizure. 
Still quite a bit of work to do – build it on stripboard to make it more robust, then try attaching it to the floor and seeing if I can detect any signal from someone shaking.  If not, I will have to minaturise it to make it wearable, and train Benjamin to wear it….